

You’ve learned HTML and CSS and started to learn JavaScript. You studied all the basics. Now it is time to practice.
But... What should I build?
We'll build 10 projects in 10 days. We'll be exploring 10 beginner-friendly JavaScript projects one by one that will help you sharpen your skills and get you started on your journey to becoming a skilled web developer. These projects are easy to follow and require minimal experience, making them perfect for beginners. Let's get started and dive into the exciting world of JavaScript projects! We'll focus on JavaScript so I won't explain every HTML and CSS code. You can style it however you want and add things to make your own.
Let's go.
What we will build in 10 days:
Image Slider
Rock-Paper-Scissors
Memory Game
Countdown Timer.
Day 3.
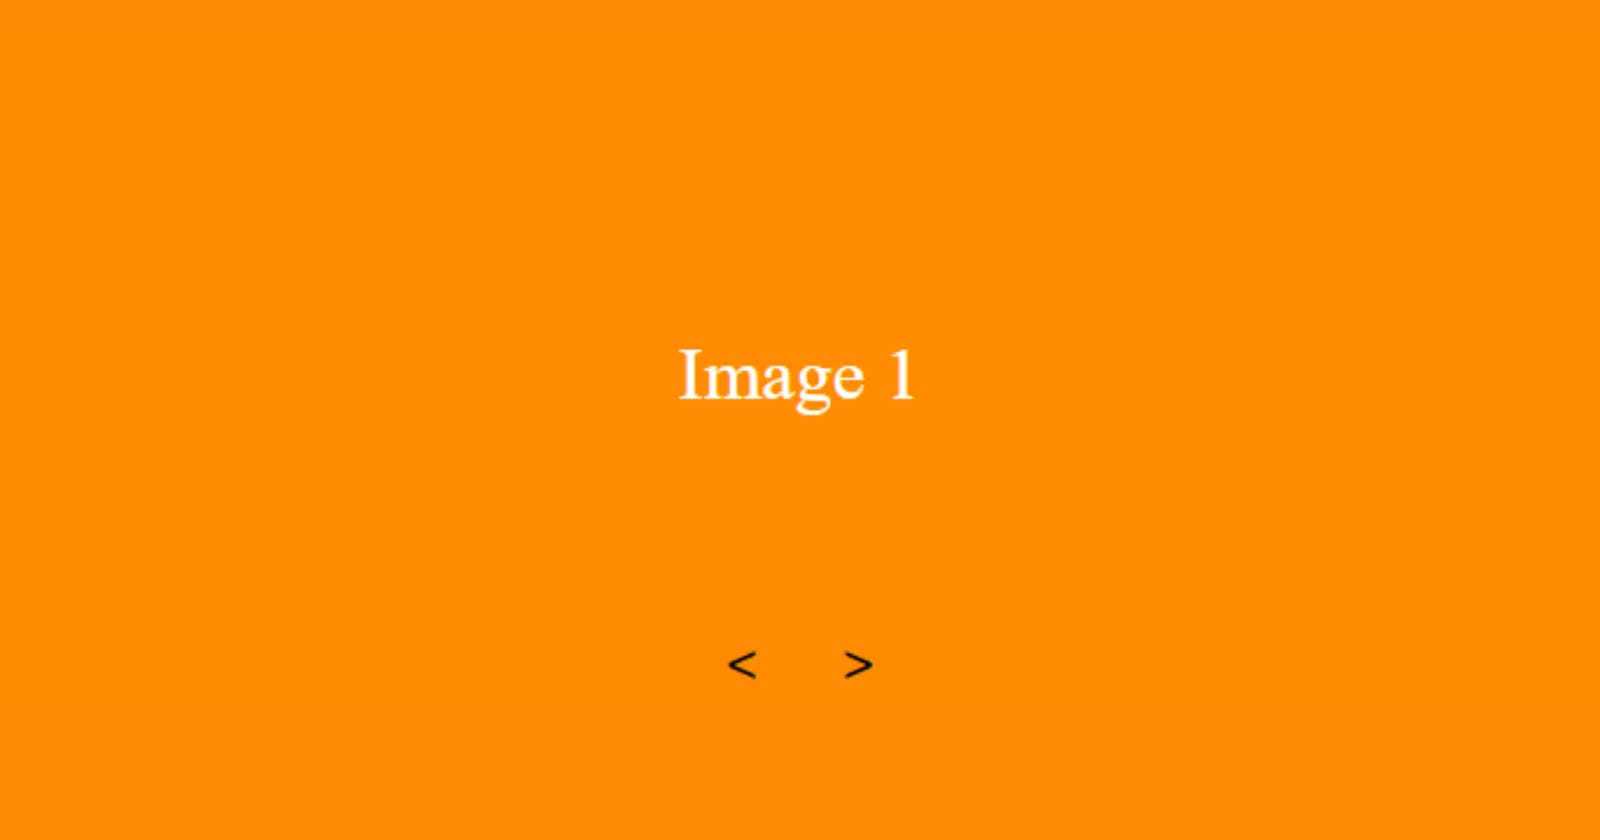
Image Slider.
Today we'll build a simple image slider.
What we'll learn by building an image slider:
JavaScript DOM manipulation: To create an image slider, you need to use JavaScript to dynamically manipulate your webpage's Document Object Model (DOM). This involves using JavaScript to select, create, modify, and remove HTML elements and their attributes.
Event handling: To allow the user to navigate through the images in your slider, you need to create event handlers in JavaScript that respond to user interactions such as button clicks or keyboard input. This can teach you how to use JavaScript to handle events and perform actions in response to user input.
Let's go.
A simple HTML:
<div class="slider">
<div class="slide active-slide" style="background-color: #ff8c00">
<span>Image 1</span>
</div>
<div class="slide" style="background-color: #008080">
<span>Image 2</span>
</div>
<div class="slide" style="background-color: #800080">
<span>Image 3</span>
</div>
<div class="slide" style="background-color: #008000">
<span>Image 4</span>
</div>
<div class="slider-buttons">
<button class="prev-button"><</button>
<button class="next-button">></button>
</div>
</div>
What we did here is simple. We created a container div with the class 'slider' that contains multiple slide divs, each with a different background color. It also has 2 buttons that allow the user to navigate images to the right and left.
Simple CSS:
.slider {
  width: 100%;
  height: 300px;
  overflow: hidden;
  position: relative;
}

.slide {
  width: 100%;
  height: 100%;
  position: absolute;
  top: 0;
  left: 0;
  opacity: 0;
  transition: opacity 0.5s ease-in-out;
  display: flex;
  justify-content: center;
  align-items: center;
  font-size: 2rem;
  color: white;
}

.active-slide {
  opacity: 1;
}

.slider-buttons {
  position: absolute;
  bottom: 10px;
  left: 50%;
  transform: translateX(-50%);
}

.prev-button,
.next-button {
  font-size: 1.5rem;
  background-color: transparent;
  border: none;
  outline: none;
  cursor: pointer;
}

.prev-button {
  margin-right: 20px;
}

.next-button:hover,
.prev-button:hover {
  color: blue;
}
And JS:
let slideIndex = 1;
showSlides(slideIndex);
We created a variable named slideIndex and set its value to '1' . The second line calls the showSlides() function with slideIndex as its argument, which will show the first slide in the slider when the page is loaded.
function plusSlides(n) {
  showSlides(slideIndex += n);
}

function currentSlide(n) {
  showSlides(slideIndex = n);
}
The plusSlides() function takes a number n as its argument, and updates the slideIndex variable by adding n to it. Then it calls the showSlides() function with the updated slideIndex value to show the next or previous slide depending on the value of n.
The currentSlide() function takes a number n as its argument, and sets the slideIndex variable to n. Then it calls the showSlides() function with the updated slideIndex value to show the corresponding slide.
function showSlides(n) {
  let i;
  let slides = document.getElementsByClassName("slide");
  let buttons = document.getElementsByClassName("slider-buttons")[0].getElementsByTagName("button");
  if (n > slides.length) {
    slideIndex = 1;
  }
  if (n < 1) {
    slideIndex = slides.length;
  }
  for (i = 0; i < slides.length; i++) {
    slides[i].style.opacity = "0";
  }
  for (i = 0; i < buttons.length; i++) {
    buttons[i].classList.remove("active-button");
  }
  slides[slideIndex - 1].style.opacity = "1";
  buttons[slideIndex - 1].classList.add("active-button");
}
The showSlides() function takes a number n as its argument, and updates the displayed slide and navigation buttons based on the value of slideIndex. The function first selects all elements with the class name "slide" and "slider-buttons", and assigns them to the slides and buttons variables respectively.
If n is greater than the number of slides, slideIndex is set to 1, and if n is less than 1, slideIndex is set to the last slide in the slider. The function then loops through all slides and sets their opacity to "0" to hide them. It also loops through all buttons and removes the "active-button" class to deactivate all buttons. Finally, it sets the opacity of the slideIndex-th slide to "1" to display it, and adds the "active-button" class to the slideIndex-th button to activate it.
let prevButton = document.getElementsByClassName("prev-button")[0];
let nextButton = document.getElementsByClassName("next-button")[0];
prevButton.addEventListener("click", function() {plusSlides(-1)});
nextButton.addEventListener("click", function() {plusSlides(1)});
The last lines select the previous and next buttons and add event listeners to them that call the plusSlides() function with -1 or 1 as their argument when clicked.
Here is the full JS code.
let slideIndex = 1;
showSlides(slideIndex);

function plusSlides(n) {
  showSlides(slideIndex += n);
}

function currentSlide(n) {
  showSlides(slideIndex = n);
}

function showSlides(n) {
  let i;
  let slides = document.getElementsByClassName("slide");
  let buttons = document.getElementsByClassName("slider-buttons")[0].getElementsByTagName("button");
  if (n > slides.length) {
    slideIndex = 1;
  }
  if (n < 1) {
    slideIndex = slides.length;
  }
  for (i = 0; i < slides.length; i++) {
    slides[i].style.opacity = "0";
  }
  for (i = 0; i < buttons.length; i++) {
    buttons[i].classList.remove("active-button");
  }
  slides[slideIndex - 1].style.opacity = "1";
  buttons[slideIndex - 1].classList.add("active-button");
}

let prevButton = document.getElementsByClassName("prev-button")[0];
let nextButton = document.getElementsByClassName("next-button")[0];
prevButton.addEventListener("click", function() {plusSlides(-1)});
nextButton.addEventListener("click", function() {plusSlides(1)});
That's it for today. Hope you liked it.
See you tomorrow.
Here is the GitHub code.