

You’ve learned HTML and CSS and started to learn JavaScript. You studied all the basics. Now it is time to practice.
But... What should I build?
We'll build 10 projects in 10 days. We'll be exploring 10 beginner-friendly JavaScript projects one by one that will help you sharpen your skills and get you started on your journey to becoming a skilled web developer. These projects are easy to follow and require minimal experience, making them perfect for beginners. Let's get started and dive into the exciting world of JavaScript projects! We'll be focusing on JavaScript so I won't explain every HTML and CSS code. You can style it however you want and add things to make your own.
Let's go.
What we will build in 10 days:
To-do List
Rock-Paper-Scissors
Memory Game
Countdown Timer.
Day 3.
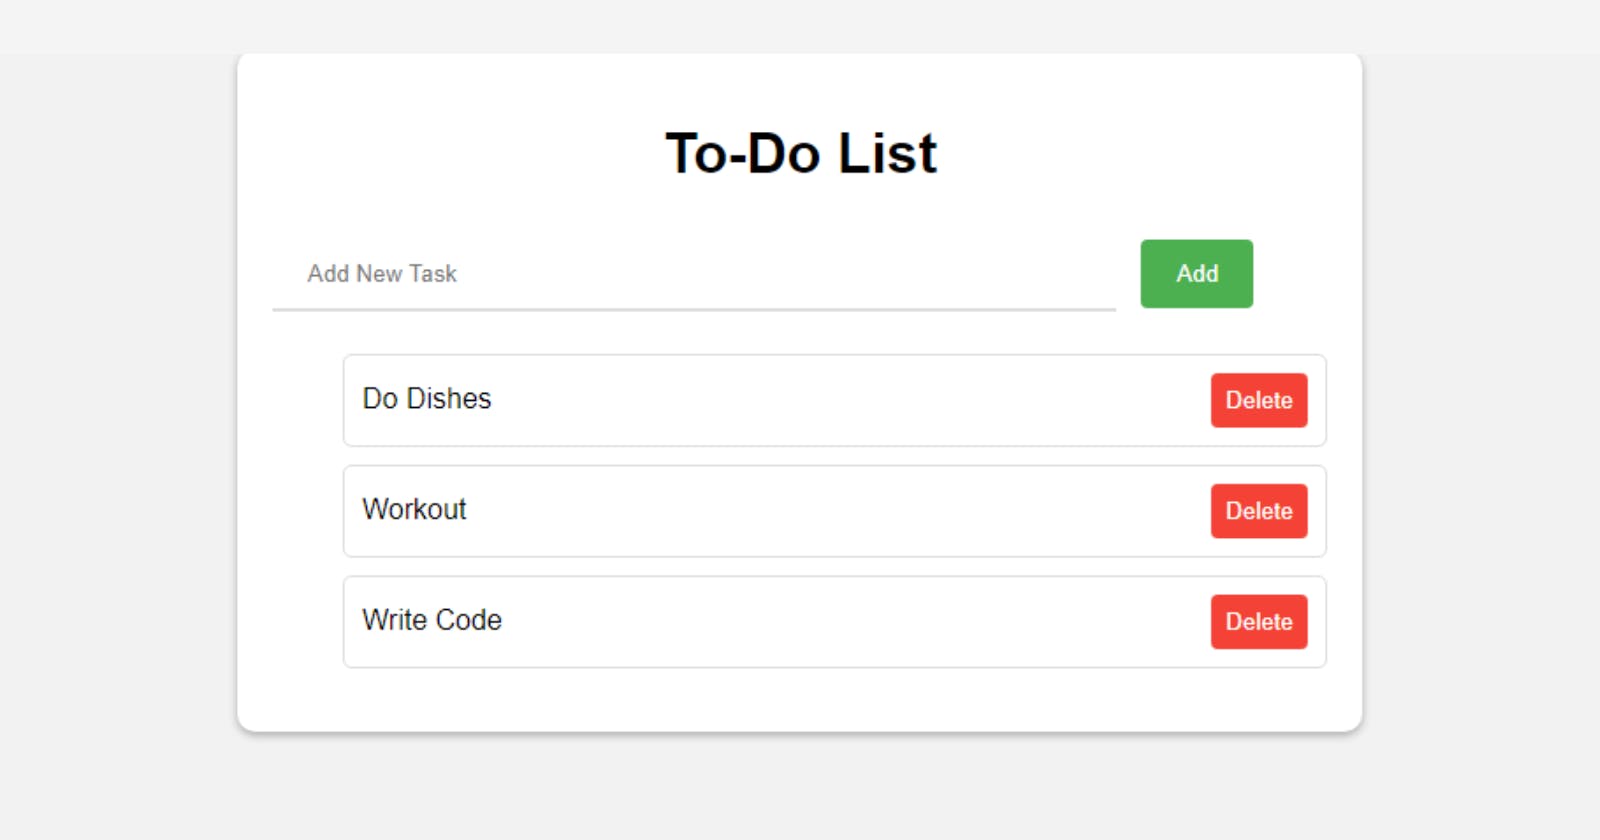
To-Do List.
You can't tell I'm a developer if you don't build a to-do list at least once. 😊
That's why today we'll build a simple to-do list. We can add things to it and delete it when it is done.
What we'll learn by building a to-do list:
DOM
Event handling
Functions
Calling a function by using keyboard buttons.
What we need for HTML is simple(as always).
An input field for writing our tasks.
A button for adding tasks to the to-do list.
A list of tasks, but for now it is empty.
    <div class="container">
        <h1>To-Do List</h1>
        <input type="text" id="taskInput" placeholder="Add New Task">
        <button onclick="addTask()">Add</button>
        <ul id="taskList"></ul>
    </div>
As you can see, we added an onclick event to the button, it will call a function named addTask() when the user clicks the button.
Simple CSS.
body {
    font-family: Arial, sans-serif;
    margin: 0;
    padding: 0;
    background-color: #f2f2f2;
}

.container {
    max-width: 600px;
    margin: 0 auto;
    padding: 20px;
    background-color: #fff;
    border-radius: 10px;
    box-shadow: 0 2px 5px rgba(0,0,0,0.3);
}

h1 {
    text-align: center;
}

input[type="text"] {
    width: 80%;
    padding: 12px 20px;
    margin: 8px 0;
    box-sizing: border-box;
    border: none;
    border-bottom: 2px solid #ddd;
    outline: none;
}

button {
    background-color: #4CAF50;
    color: white;
    padding: 12px 20px;
    border: none;
    border-radius: 4px;
    cursor: pointer;
    margin-left: 10px;
}

button:hover {
    background-color: #45a049;
}

li {
    list-style: none;
    margin: 10px 0;
    padding: 10px;
    border: 1px solid #ddd;
    border-radius: 5px;
    display: flex;
    justify-content: space-between;
    align-items: center;
}

li span {
    margin-right: 10px;
}

li button {
    background-color: #f44336;
    color: white;
    padding: 8px;
    border: none;
    border-radius: 4px;
    cursor: pointer;
}

li button:hover {
    background-color: #cc2d26;
}
Now JS.
Let's select the input field and the list with DOM.
const taskInput = document.getElementById("taskInput");
const taskList = document.getElementById("taskList");
Remember the addTask() function we added to the button? Now we have to create the function so it can be used.
function addTask() {
  const taskValue = taskInput.value;
  if (taskValue === "") {
    return;
  }
}
We created a variable named taskValue and assigned it the value of the taskInput HTML element.
The second line means, if the task value is empty, don't add it to the list.
Now we need to create a new list item and add task value to it.
const taskItem = document.createElement("li");
taskItem.innerText = taskValue;
We need a delete button to remove the items when they're done. Let's create it.
const deleteButton = document.createElement("button");
  deleteButton.innerText = "Delete";
  deleteButton.onclick = function() {
    taskItem.remove();
  };
  taskItem.appendChild(deleteButton);
What we did:
We created a button with
createElementand assigned it to the variable nameddeleteButton.Then we set the text content of the button using the
innerTextproperty. TheinnerTextis a simple way to set the text content of an HTML element using JS.Therefore, we added an
onclickevent to thedeleteButtonto remove thetaskItemwhen the user clicks it.Element.remove()is a JS code that removes an HTML element.And we needed to add
deleteButtonto the list. We usedappendChild()for that.appendChild()helped us to add thedeleteButtonelement to the list as a child of thetaskItem.
Now we need to add the list item to the task list. We'll use appendChild() for that too.
taskList.appendChild(taskItem);
We want to clear the input field after writing our tasks.
taskInput.value = "";
It is an extra step. I want to add tasks to the to-do list when the user clicks the 'Enter' button beside the Add button.
taskInput.addEventListener("keyup", function(event) {
  if (event.keyCode === 13) {
    event.preventDefault();
    addTask();
  }
});
We have added an event listener to the input field using the addEventListener method. This event listener listens for the "keyup" event, which is triggered when a key is released after being pressed. The keyCode property of the event object is used to check if the key pressed was the 'Enter' key, which has a value of 13. If the 'Enter' key was pressed, the preventDefault method is called to prevent the default action (which is to add a newline character to the input field), and the addTask function is called.
You can Google it to learn the values of all buttons.
Full JS code.
// Selecting the input field and task list
const taskInput = document.getElementById("taskInput");
const taskList = document.getElementById("taskList");

// Function to add task to the list
function addTask() {
  // Get the task value
  const taskValue = taskInput.value;

  // If task value is empty, don't add to the list
  if (taskValue === "") {
    return;
  }

  // Create a new list item and add task value to it
  const taskItem = document.createElement("li");
  taskItem.innerText = taskValue;

  // Create a delete button and add it to the list item
  const deleteButton = document.createElement("button");
  deleteButton.innerText = "Delete";
  deleteButton.onclick = function() {
    taskItem.remove();
  };
  taskItem.appendChild(deleteButton);

  // Add the list item to the task list
  taskList.appendChild(taskItem);

  // Clear the input field
  taskInput.value = "";
}
// Adding tasks to the to-do list when the user clicks the 'Enter' button
taskInput.addEventListener("keyup", function(event) {
  if (event.keyCode === 13) {
    event.preventDefault();
    addTask();
  }
});
That's it. Hope you liked it.
See you tomorrow.
Here is the GitHub code.